
Extinguisher adapter
Fit the adapters on the Jockel training extinguisher first, then insert the controllers. The button adapter clicks onto the lever – it is not glued.
Overview as video: Commission the extinguisher package
Current version: click on, do not glue
Older videos still show double-sided tape on the button adapter. The adapter clicks onto the lever. Adapters are wear parts – contact support if one breaks or sits loosely.
Preparation
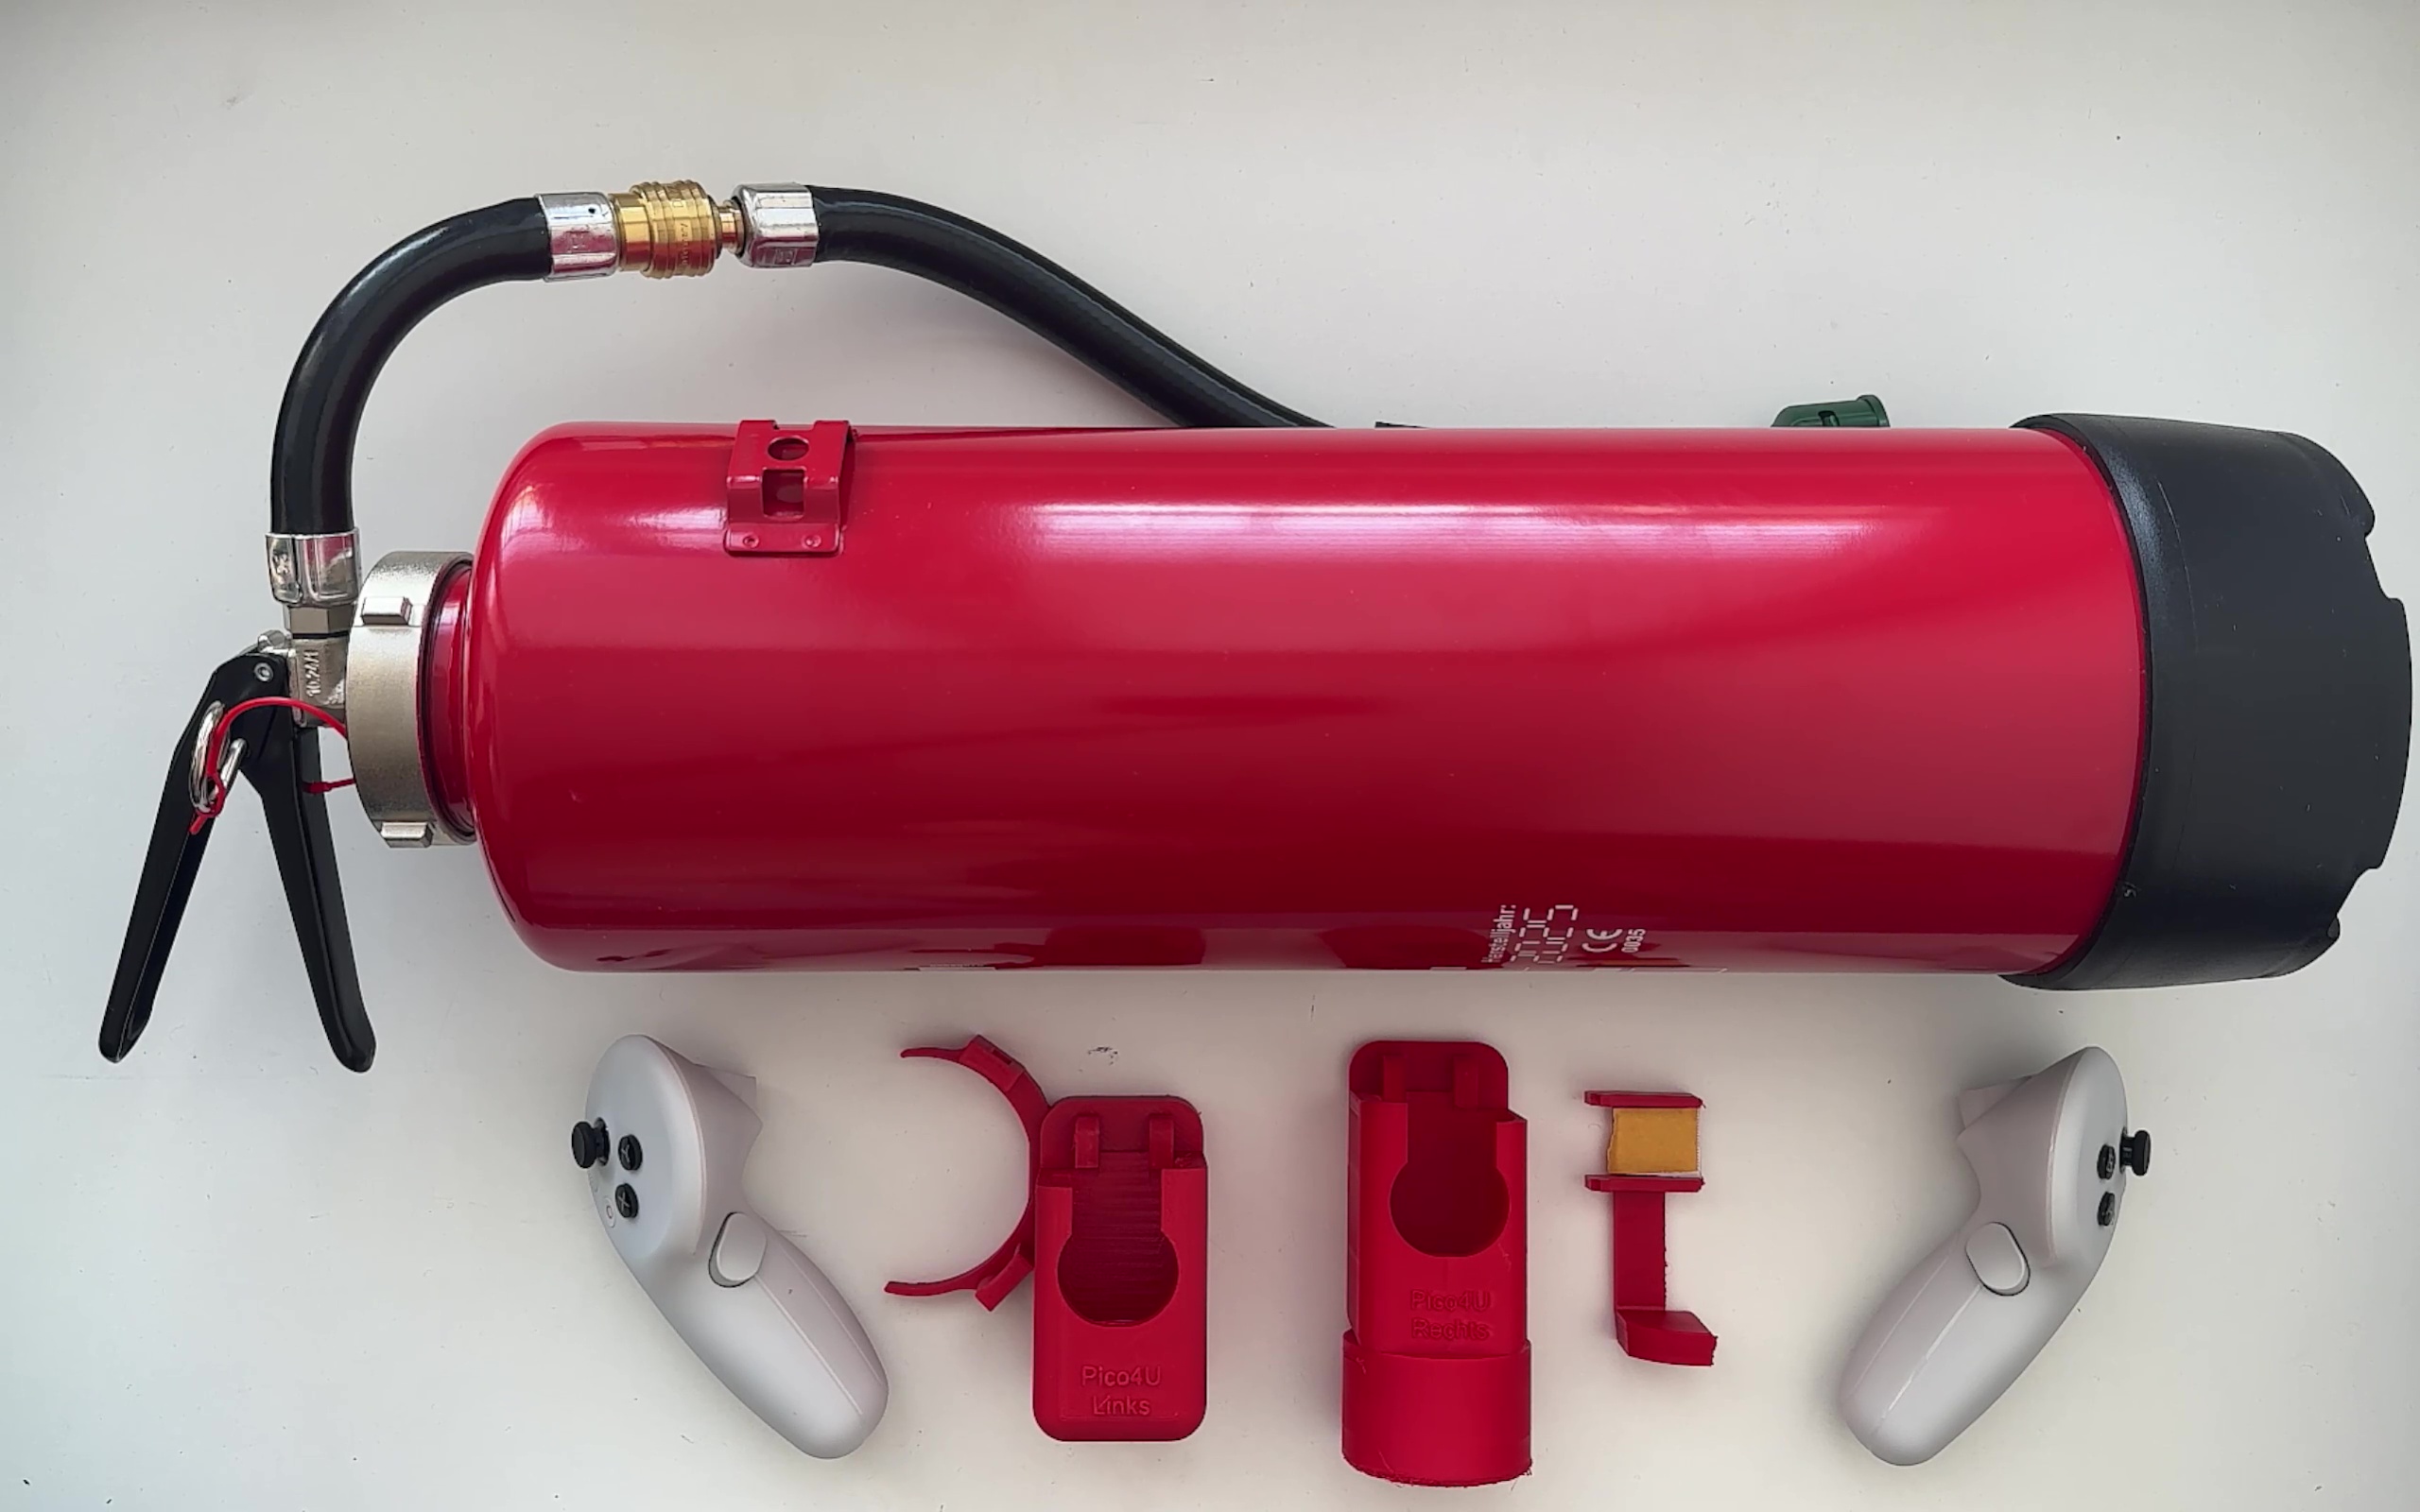
- Lay the training extinguisher down stably and note the left/right mounts
- Click the nozzle out of its holder before fitting the nozzle adapter
- The grip button must stay reachable with the middle finger
Nozzle adapter
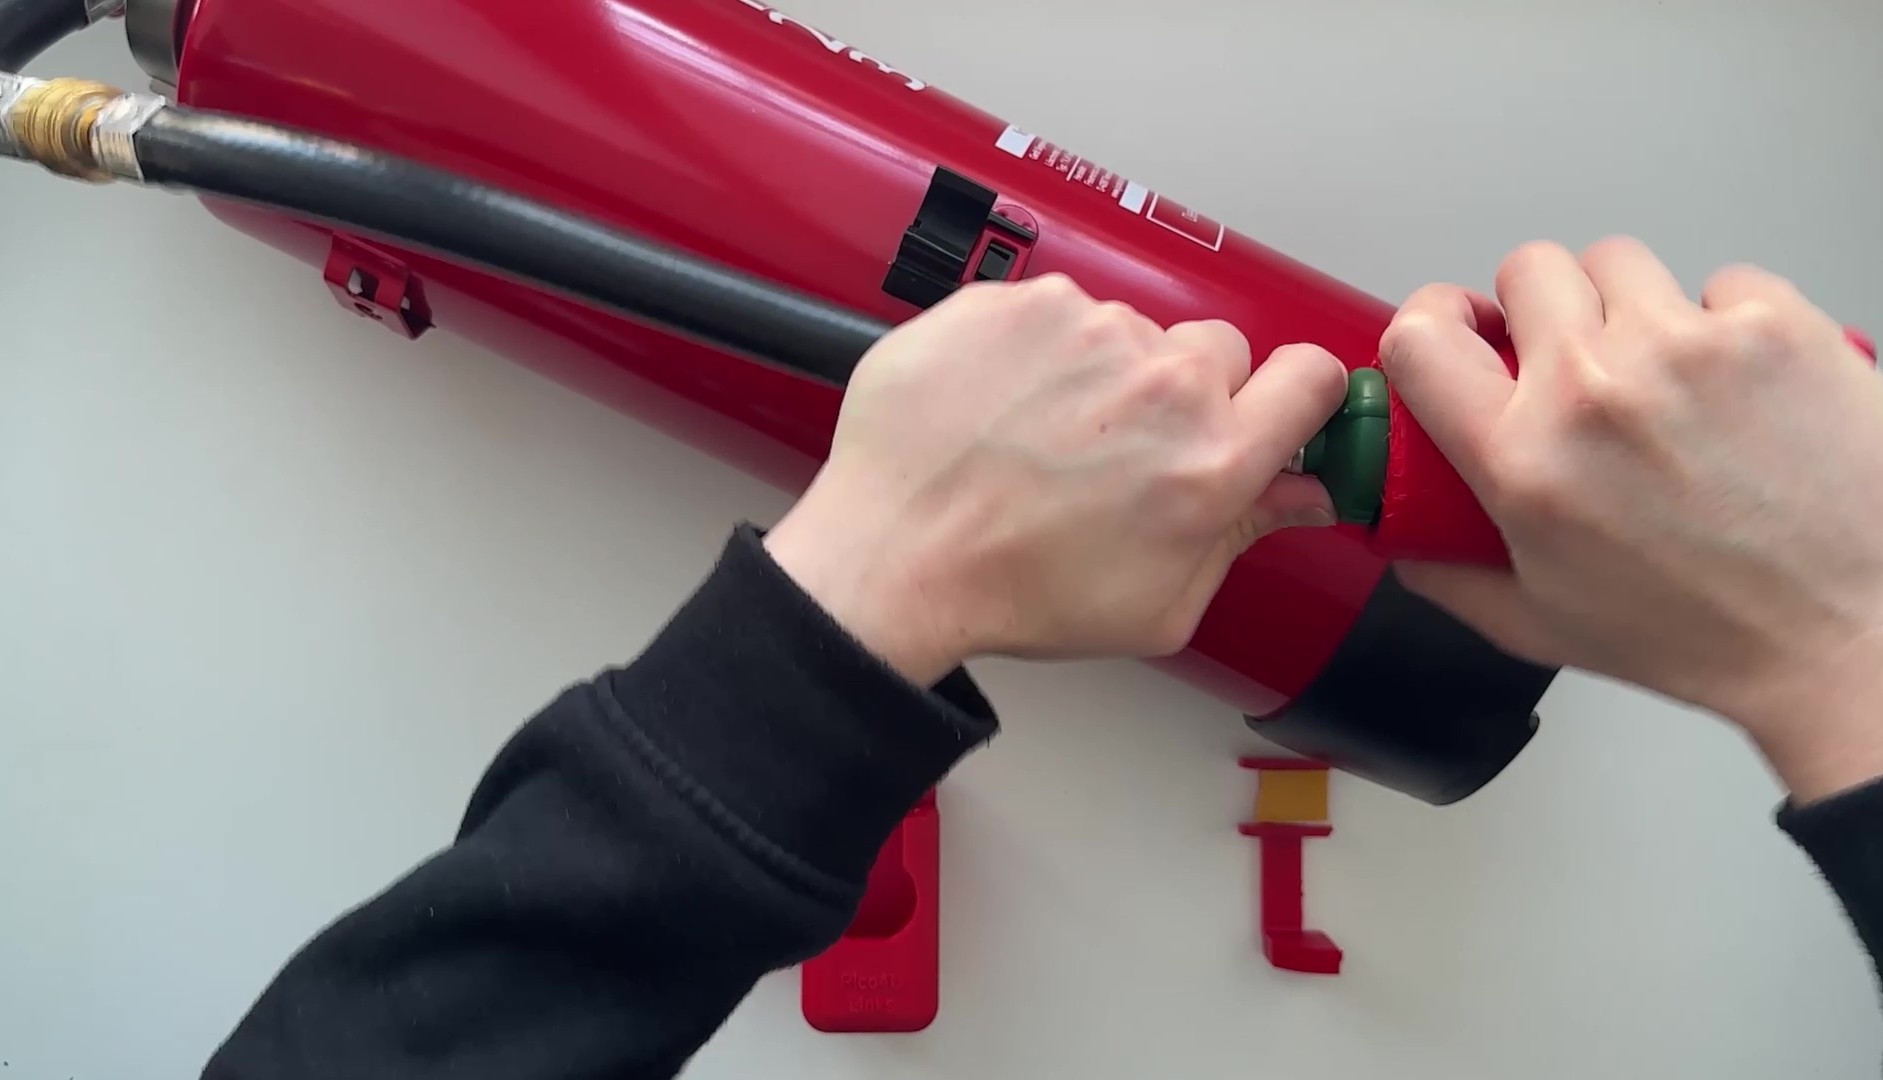
- Slide the adapter for the right controller onto the nozzle. It holds by friction; a little pressure is normal.
- Do not use excessive force – do not damage the nozzle.
- Then click the nozzle back into its holder.
Ring adapter
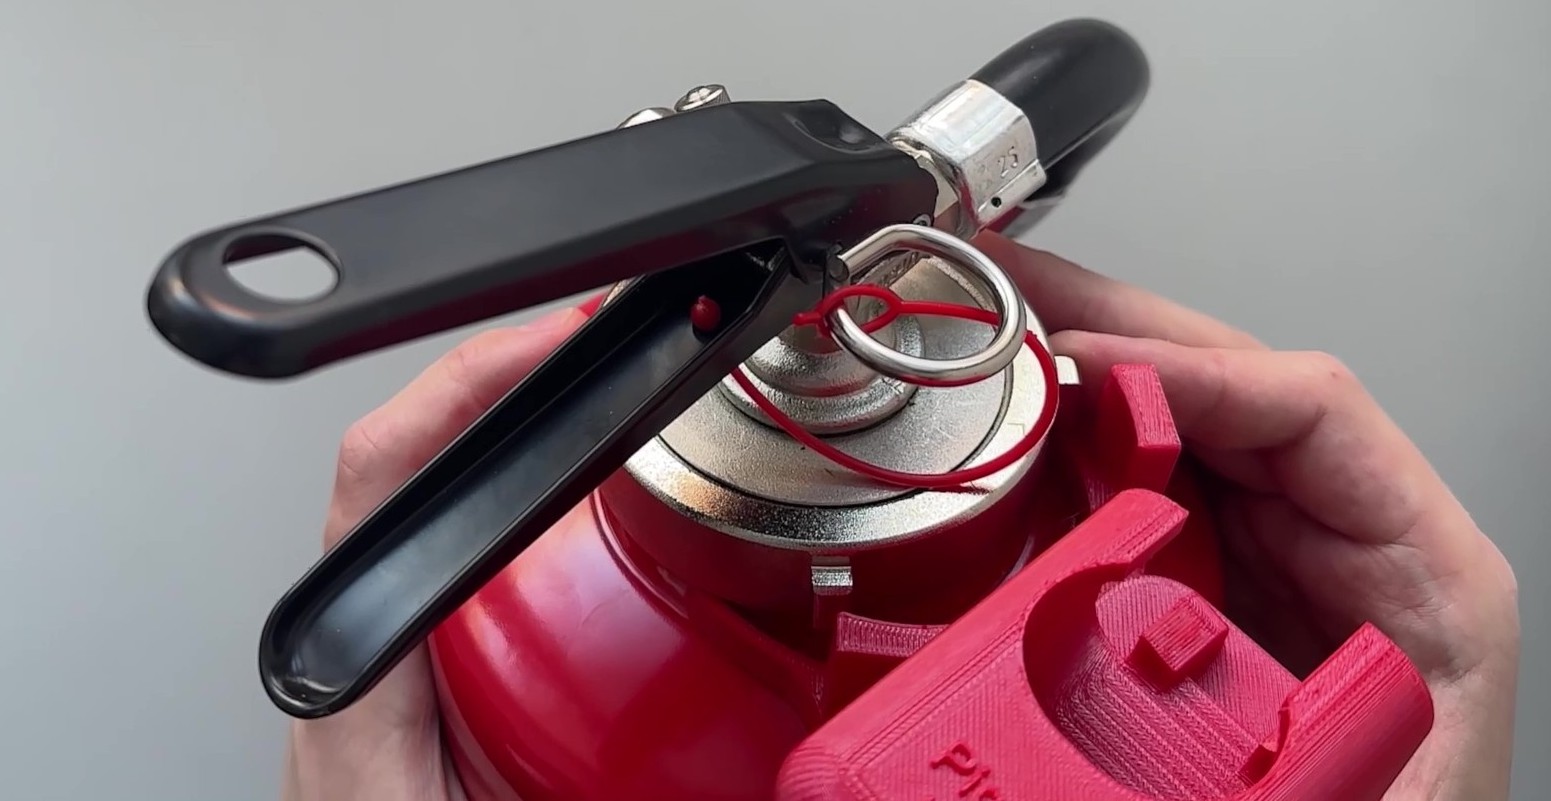
- Align the ring adapter for the left controller at 90 degrees.
- Set the small holes onto the two metal points and click it on.
Button adapter
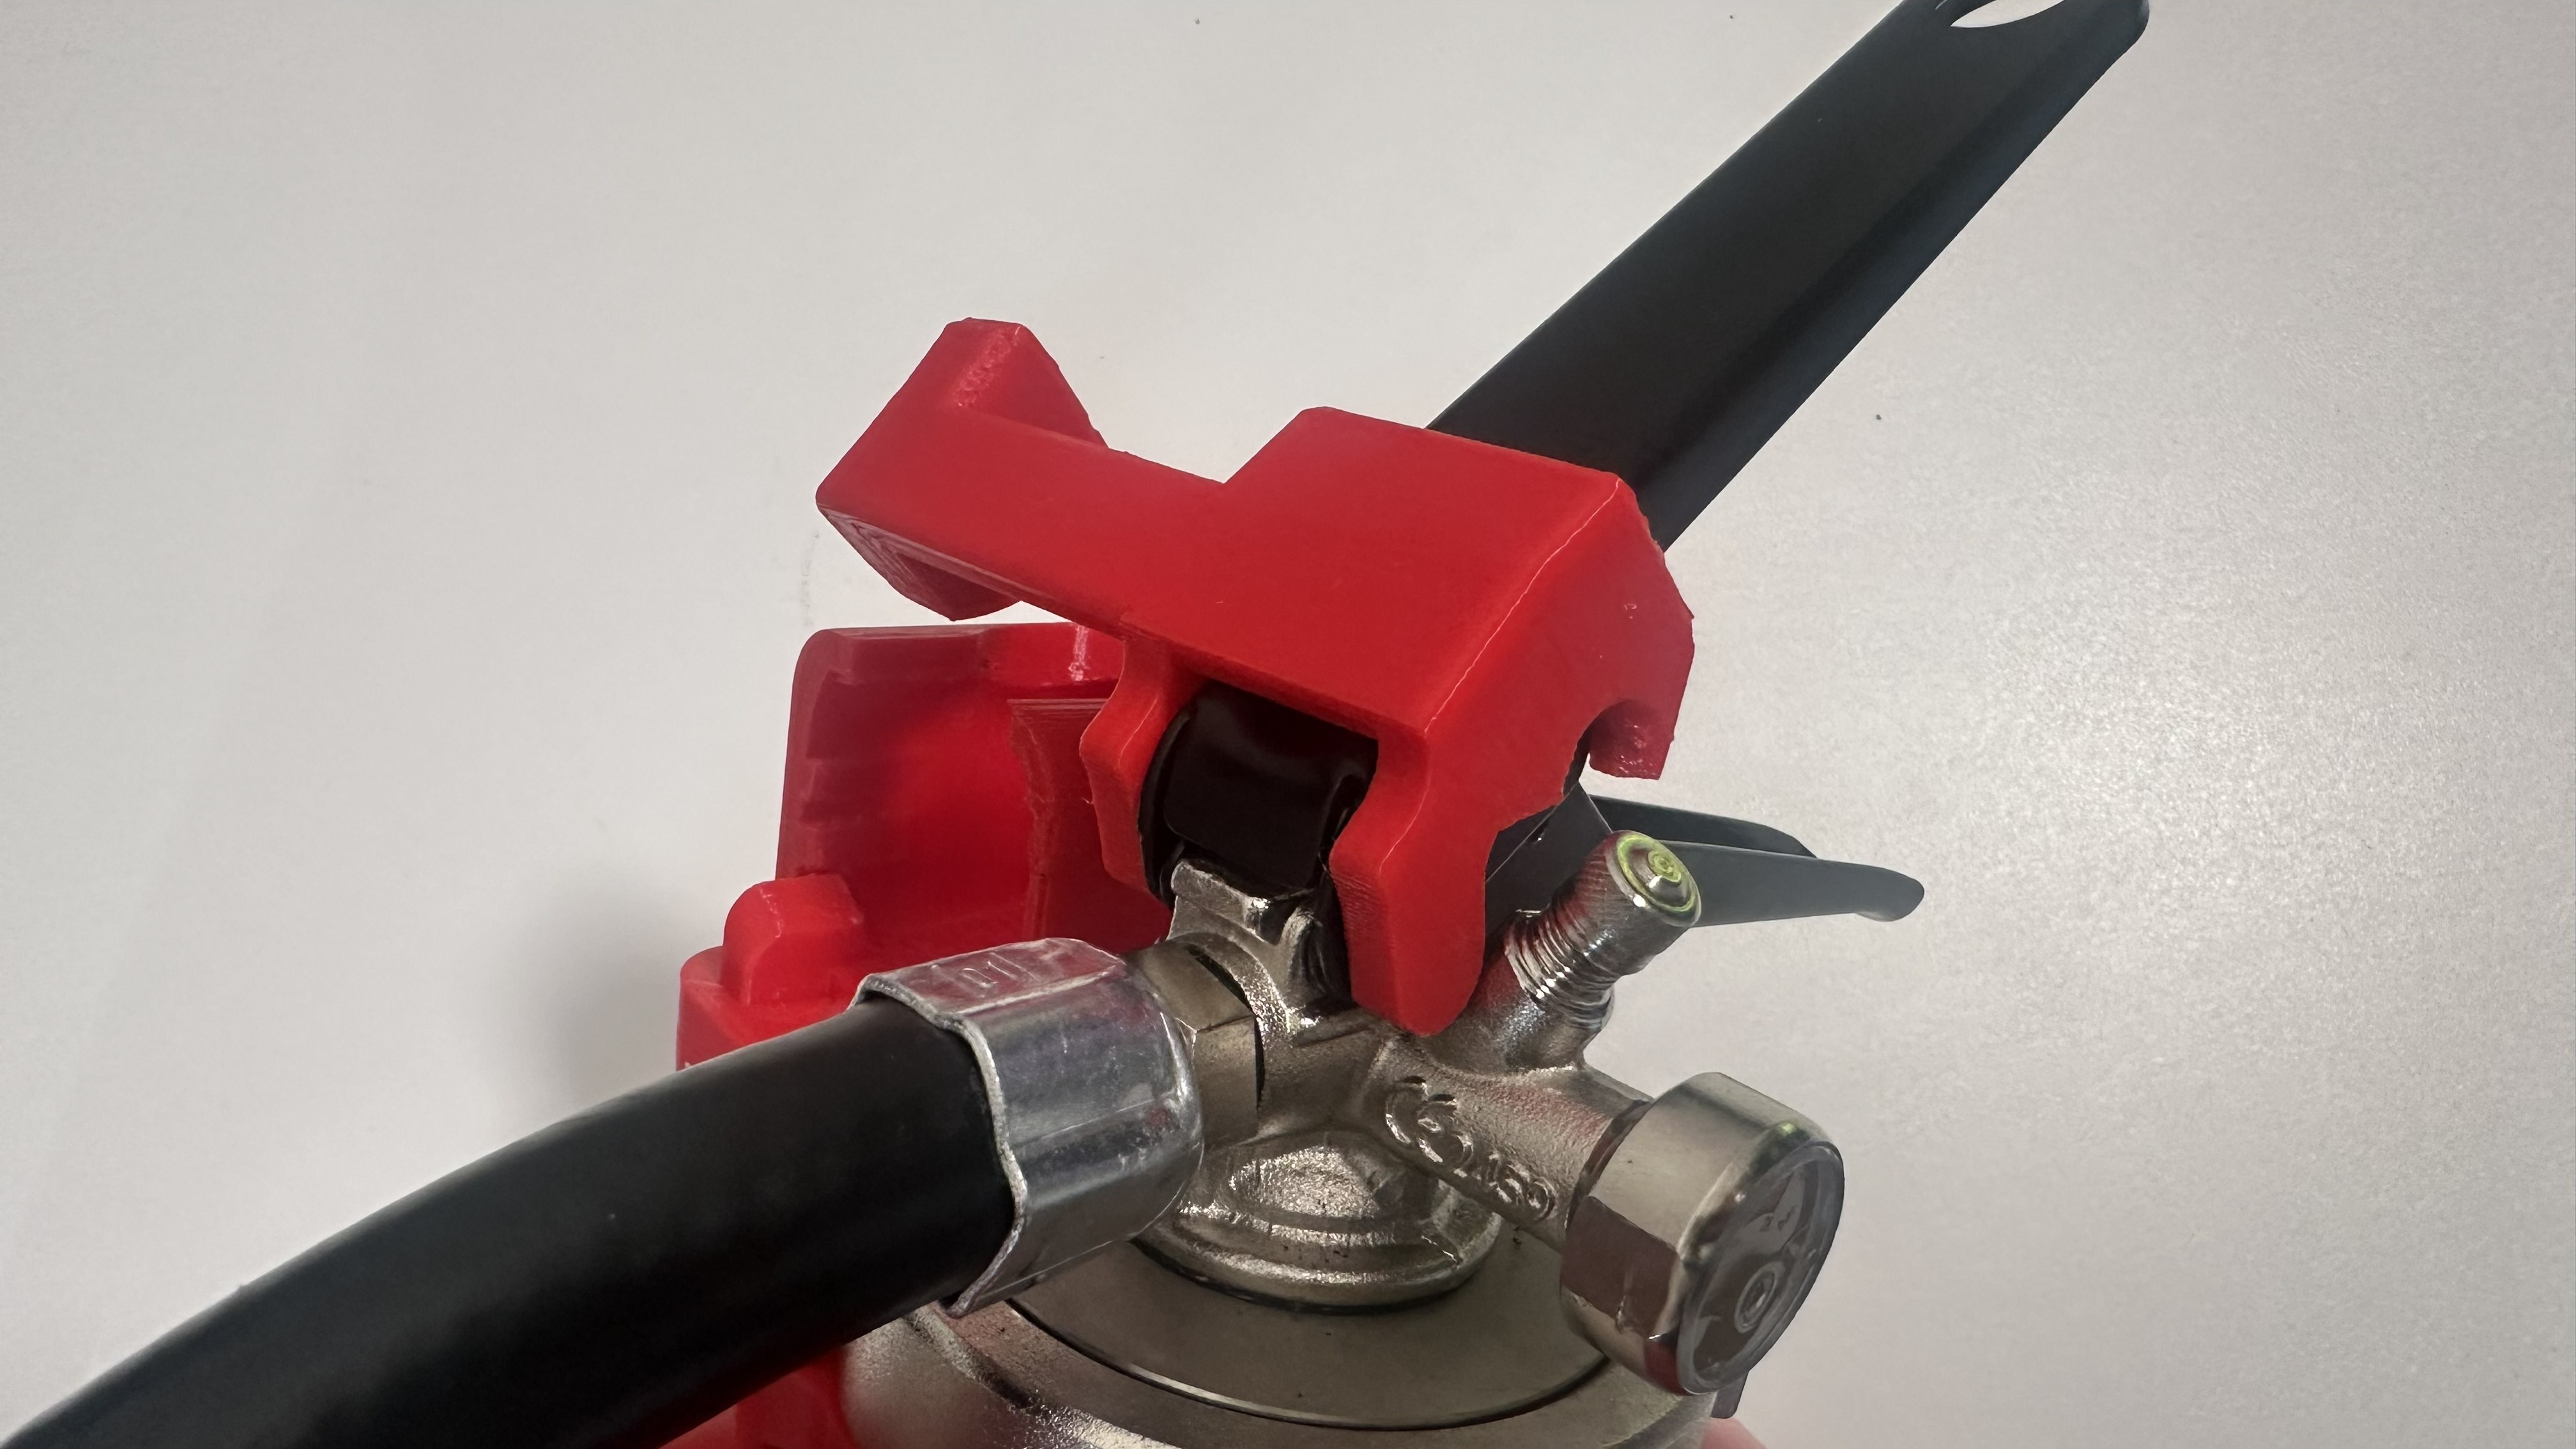
- Align the notch with the screw or rivet on the lever.
- Click it onto the lever until it sits firmly and moves with it.
Controllers and training
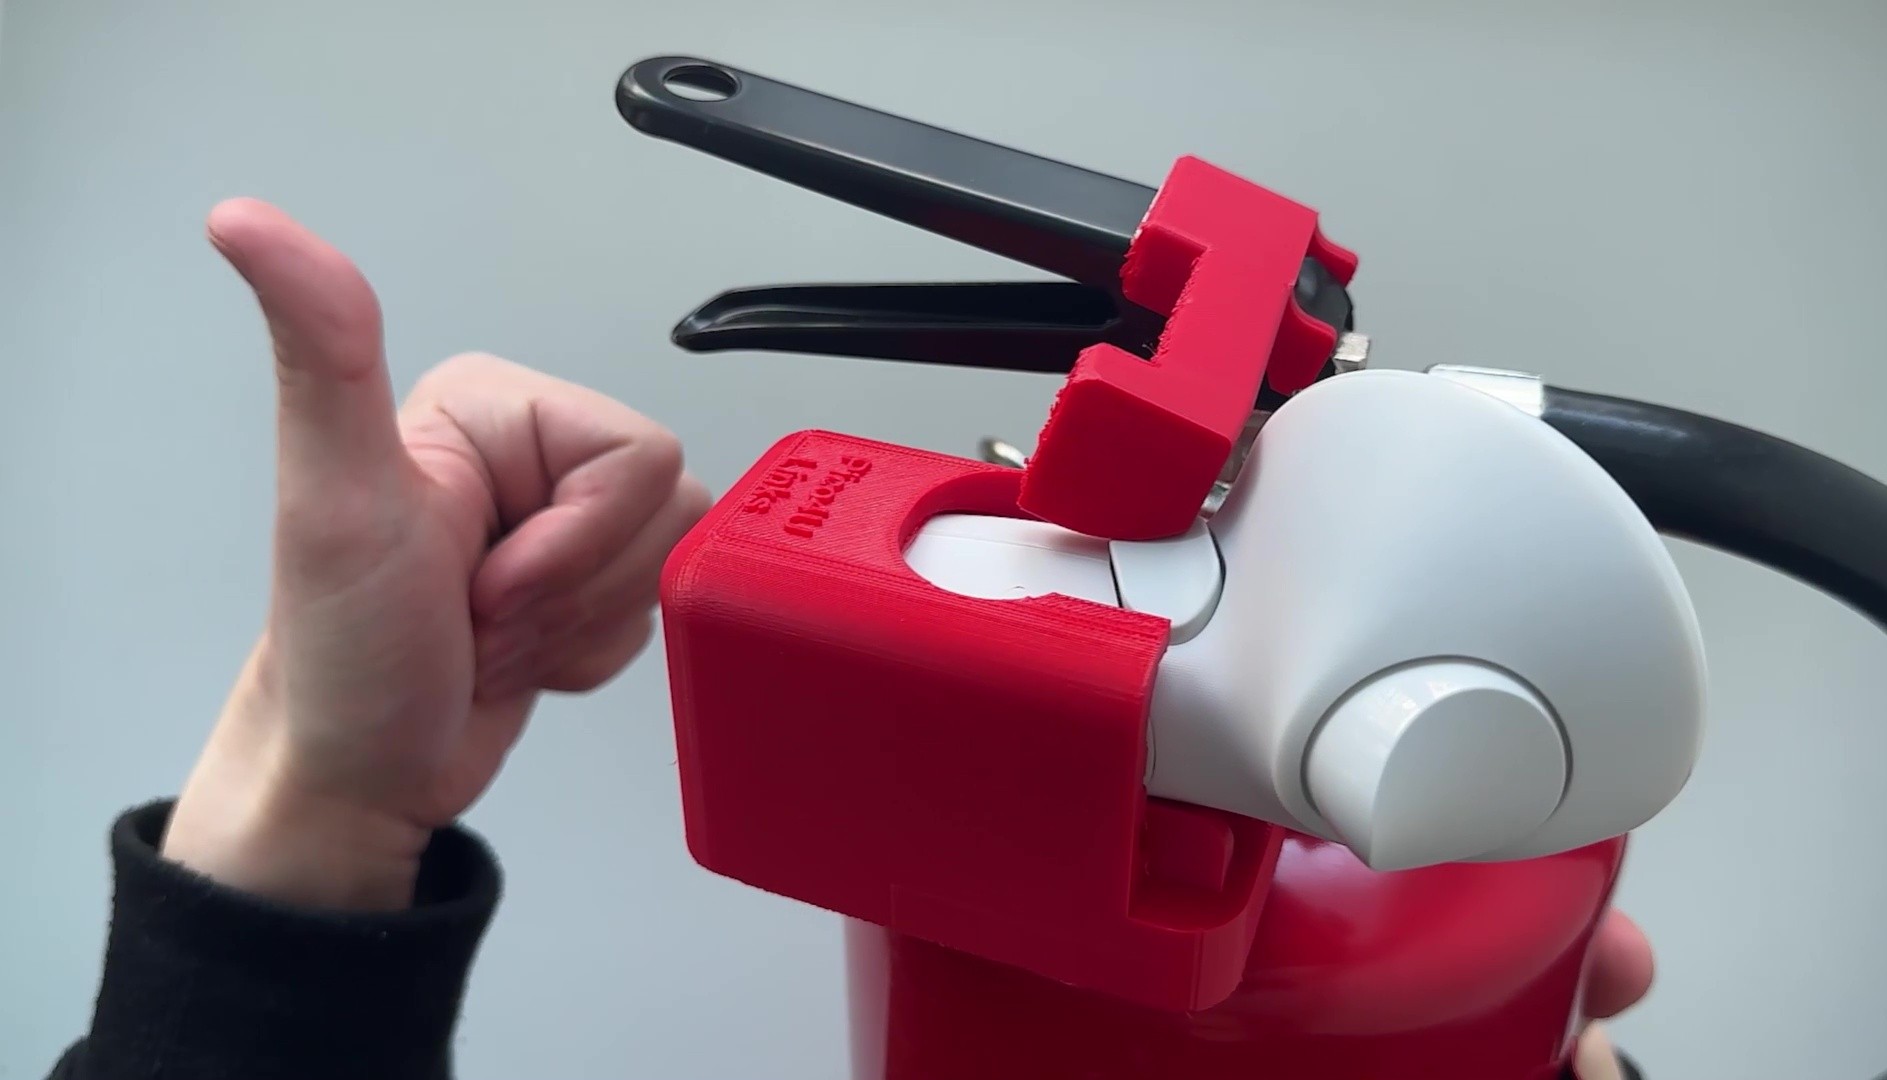
- Right controller at the front in the nozzle adapter, grip button facing up.
- Left controller on top in the ring adapter, button facing up. The button adapter should press the left grip button.
How the module runs in a course – fire source, buzzer, extinguishing, settings – is under extinguisher training.